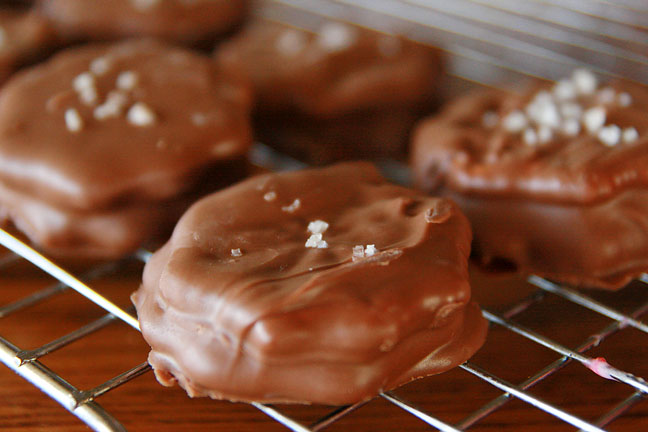
Super Bowl Recipe Round-Up!

Posted by Mandy on February 1st, 2012

There’s a pretty big game coming up this weekend, and I know most of you will be watching. And one of the most important things about the Super Bowl is the food that is served during the game. It’s all about manly football food (DUH!) so I thought it would help if I rounded up some of my friend’s and family’s favorite football grub for you. Hope your favorite team wins, but only if your favorite team is the Giants! 😉

P.S. Click the link below each photo to access that particular recipe.

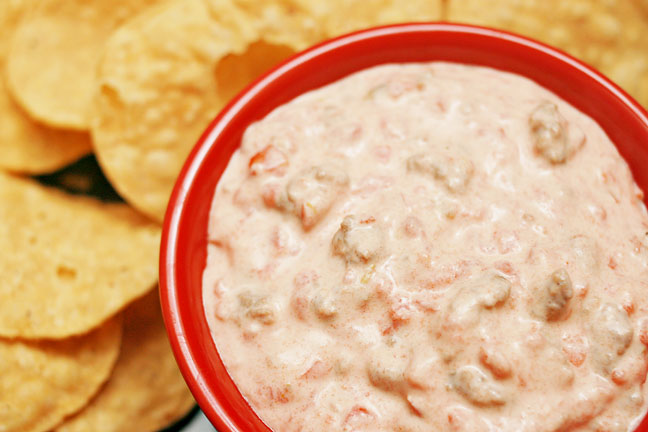
Jalapeno poppers are very traditional football food, but it’s a lot of work. This dip gives you the same flavors without all the work!

 http://www.thesupermomchef.com/?p=494

The name says it all, Crack Dip! Just as addicting as I assume crack would be…

 http://www.thesupermomchef.com/?p=841

My personal favorite appetizer of all time, Southwestern Chicken Appetizers

 http://www.thesupermomchef.com/?p=145

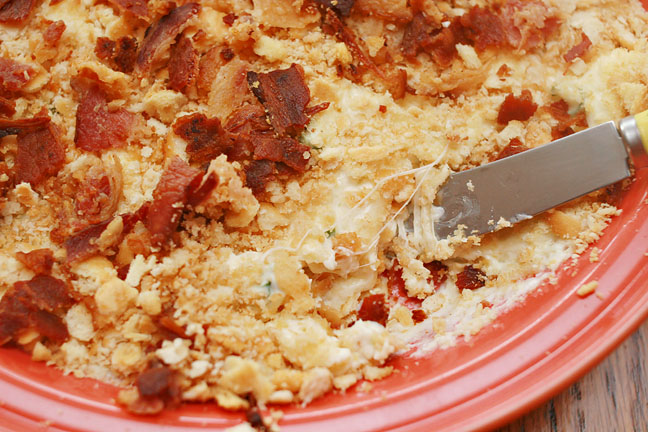
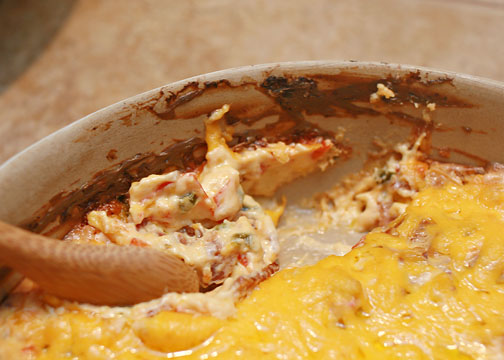
Total man food, Cheesy Ritz Dip

http://www.thesupermomchef.com/?p=675 

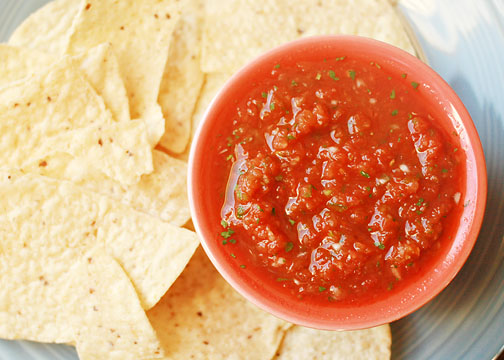
If I were to have a football party and not serve this salsa, I would find myself single because my hubby would divorce me immediately.

 http://www.thesupermomchef.com/?p=555

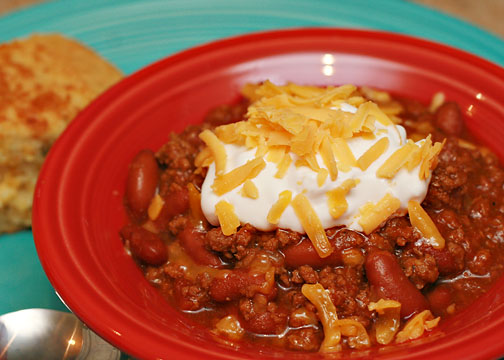
Football just makes me think of Chili, how ’bout you?

 http://www.thesupermomchef.com/?p=227

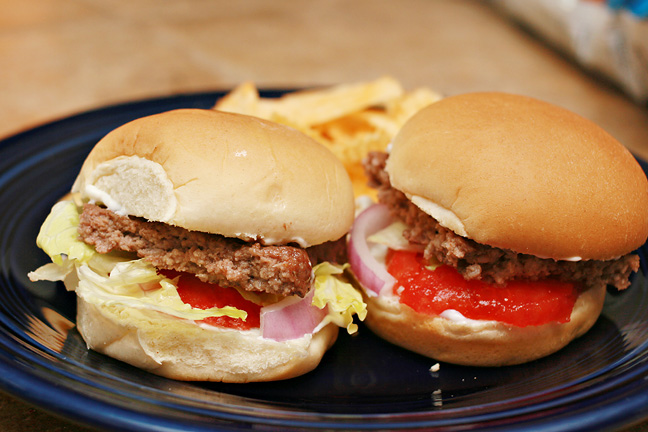
My hubby’s favorite meal I’ve ever made (and one of the most simple things I’ve ever made!) – Hamburger Sliders

 http://www.thesupermomchef.com/?p=900

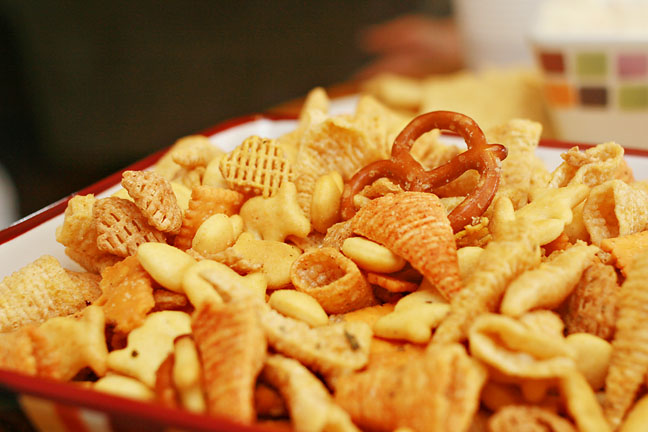
The best snack mix I’ve ever tasted – “Consider Yourself Warned” Snack Mix – don’t blame me if you can’t stop going back for more!

 http://www.thesupermomchef.com/?p=685

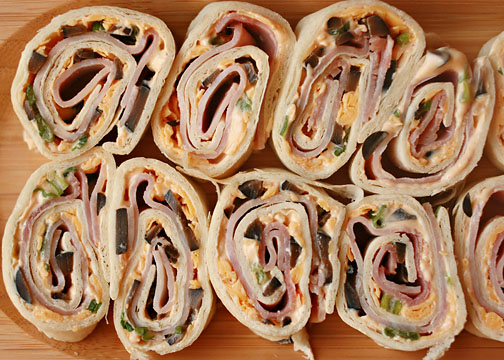
Not necesarily the most manly food, but a great addition to your Super Bowl spread – Pinwheels!

 http://www.thesupermomchef.com/?p=630

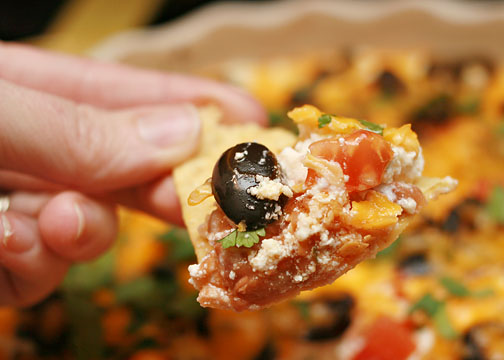
DO NOT serve this dip at your party if you plan on inviting me – I will no doubt eat the entire pan myself!

 http://www.thesupermomchef.com/?p=510

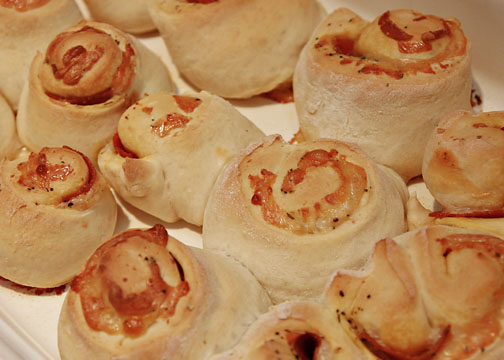
Kid, man, and chick friendly pepperoni rolls – ALWAYS a hit!

http://www.thesupermomchef.com/?p=65

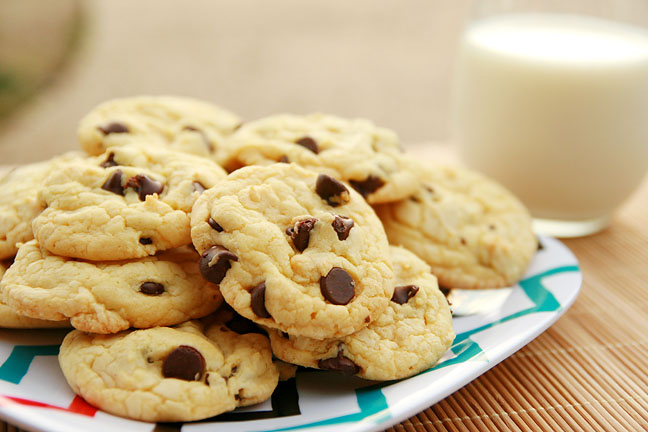
An easy pick-up dessert to serve would be cookies. You can’t go wrong with traditional chocolate chip!

 http://www.thesupermomchef.com/?p=1228

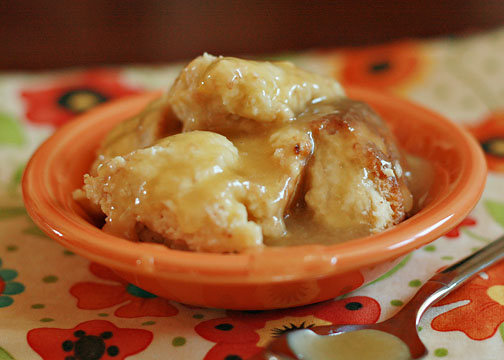
Football is a good excuse to combine booze and food, right? So is Monday, and Tuesday, and Wednesday, and every other day for that matter!

 http://www.thesupermomchef.com/?p=281

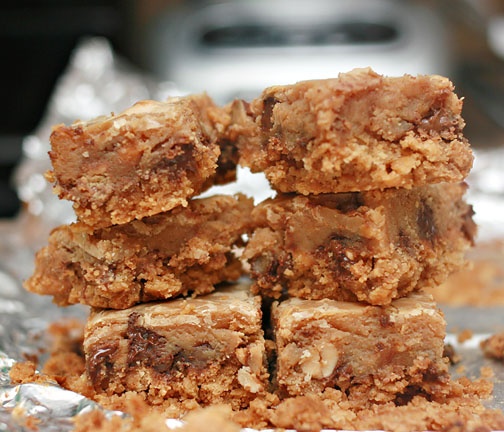
All of my favorite things in one bar dessert – PERFECTION!
http://www.thesupermomchef.com/?p=500

Quick Roast Beef Wraps

Posted by Mandy on January 31st, 2012

One night about a month ago, I wasn’t feeling my best and quite frankly, just didn’t feel like cooking supper. Yes, even I have these nights. I love to cook more than anyone else I know but there are times when I just can’t stand the thought of fixing another dinner at home. So I looked in my refrigerator for a quick throw-together meal and the only meat in my fridge was roast beef. I don’t buy roast beef often, because we just don’t eat it much on sandwiches like we do turkey and ham so I had no idea what to make. Thankfully, I had a package of mushrooms, some onions, provolone cheese, and a red bell pepper too. Heck yeah! I knew just what to make – these wraps were out of this world delicious! I tell ya, it doesn’t get any easier than this folks. A little chopping, a little sauteing (how do you spell that word, BTW?), a little wrapping and grilling, and dinner is done! Oh, and since these are a favorite of the men in my house, I feel sure these would be great for your Super Bowl party this weekend too.


Quick Roast Beef Wraps

deli sliced roast beef, cut into small pieces (however much you prefer*)

mushrooms

sliced onion

chopped red bell pepper

sliced Provolone cheese

Worcestershire sauce

salt & pepper, to taste

oil, for sauteing the vegetables

flour tortillas

mayonnaise and sour cream, if desired

spray butter

Set a large skillet over medium-high heat; add oil. Once oil is heated, add onions, bell pepper, and mushrooms. Cook, stirring occasionally, until the onions are semi-soft and the mushrooms are heated through. Meanwhile, set a grill pan over medium-high heat so that it will be warm in time to grill the wrap when the filling is finished. Add roast beef to the onion and pepper mixture, cooking until completely heated through, stirring often. Add salt, pepper, and Worcestershire sauce to taste (usually a couple shakes of salt, a couple grinds of pepper, and a few shakes of Worcestershire sauce). Spread mayonnaise on a wrap, and fill wrap with the warm roast beef mixture. Top with sliced Provolone cheese. Spray the wrapped tortilla lightly with butter spray and place wrap on grill pan; cover with a grill press. (If you don’t have a grill press, use a brick covered in foil to add weight to the wra.) Grill over medium-high heat until browned and cheese is melted. Serve hot with sour cream for dipping, if desired.

*Note: Amounts of the ingredients for this recipe will depend on how many people you plan to serve, I use about 1 1/2 pounds for my family of five, 1 package of mushrooms, 1 onion, and 1/2 bell pepper. There is usually a good bit leftover for the following day, and leftovers of this filling are amazingly delicious! Just heat the roast beef mixture the next day in the microwave, stuff into the tortilla with cheese, and grill the wrap.

Ham, Swiss and Poppyseed Sliders

Posted by Mandy on January 27th, 2012

In the past, I’ve admitted my undying love for sandwiches of all kinds. If it’s meat (or even veggies for that matter) between bread with some cheese, I’m likely to fall head over heals in love with it upon first bite. These little sammies are no exception. I tasted these for the first time at a shower we held at the office where I used to work. Even brought to work and sitting in a cubicle for half the day and then warmed in the microwave they were still divine.

These would be perfect for your Super Bowl gathering next Sunday! Men, women, children…everyone loves these! I usually make another smaller batch of just rolls with mayonnaise spread on them, since my hubby is a mustard-hater, but most people love them even if they don’t love mustard. The sauce has so much flavor from the mustard, onions, and such. Try them next weekend and your fellow football-lovers won’t be sorry. That is unless their pick of “team-to-win” loses, but I can’t help ya on that one.

Ham, Cheese and Poppyseed Sliders

1/4 cup butter, melted

1 tablespoon yellow mustard

1 tablespoon poppy seeds

1 tablespoon dried minced onions

2 teaspoons Worcestershire sauce

1 package prepared rolls (I used Sara Lee)

honey ham

sliced Swiss cheese

Preheat oven to350 degrees F. Slice rolls in half horizontally, so that you end up with the roll tops on one side and the roll bottoms on the other. Combine butter, poppy seeds, mustard, onions, and Worcestershire sauce. Spread the mustard and poppyseed mixture over the roll bottoms. Top with the sliced ham and cheese. Spread mayonnaise on the roll tops. Place the tops back on the rolls, covering the cheese and ham. Wrap the entire pan of sandwiches in foil and bake until warm, about 15-20 minutes. Uncover rolls and continue baking until cheese is melted. Serve hot.

Homemade Feta Sauce

Posted by Mandy on January 25th, 2012

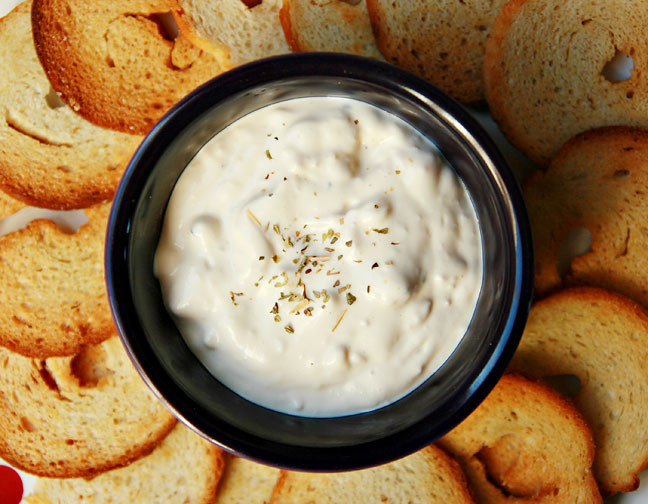
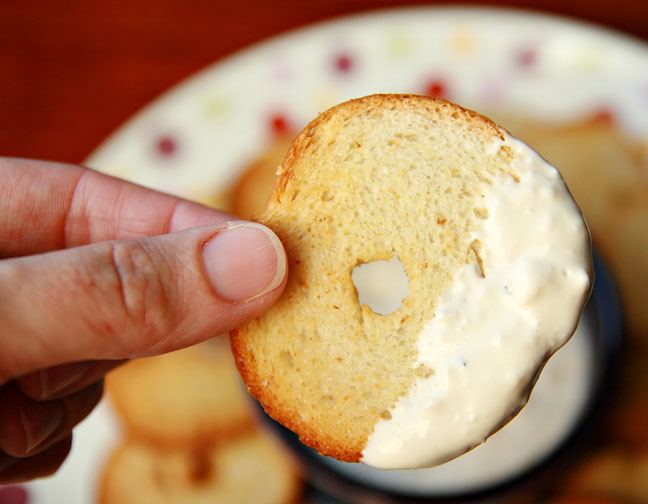
There’s this restaurant in Jackson, MS, which shall go nameless so that I don’t accidentally infringe on any kind of copyright or tradmark issues, but I tell ya what…they have the BEST pitas that have ever been made. And judging by the huge crowd there every single day at lunchtime (I’m not brave enough to go there at night – EEK!) I’m not the only one that feels this way. With most of their pitas, they serve what they refer to as feta sauce. This stuff is seriously dangerous! Dangerously delicious! I always order a turkey pita, which comes with said feta sauce slathered on it already but that’s not enough…I must order extra on the side to satisfy my craving. Eating it on your pita is a given, but it’s every bit as delicious eaten with their extra delicious cottage fries as well. Top your favorite Greek salad with this favorite sauce and you’ll be singing praises again! Dip your crackers in it, eat it by the spoonful, who cares! It’s just that dang good and I’m not ashamed to admit that I’ve eaten it every way I just described. :)

Well since this restaurant is a good 35 minutes away from my home, and since it’s served in a restaurant that’s not exactly the most kid-friendly place (not much on the menu for children), we rarely get to dine there. On the rare occassion when I’m in the area and my sister is off work we get to drop by but that’s usually once in a blue moon (is there really such a thing?) So I decided that it was high time I decided how to make something similar at home. Now I’m not gonna go all crazy here and tell you this is “the recipe” because goodness knows it certainly isn’t. I took a recipe I found online claiming to taste just like it (which tasted not much like it, in my opinion) and made it over and over until I came up with something much more similar to the original. At least in my opinion. Like I said, though, I’m making no claims here as to it being authentic feta sauce, but it dang sure cures the cravings for me when I can’t make it to the restaurant for my favorite pita. So here ya go folks! Let me know what you think. :)

P.S. Stay tuned for a yummy Chicken Gyro recipe to serve this delicious sauce on top of!


Homemade Feta Sauce

1 1/2 cups mayonnaise (use the real stuff for this, folks!)

1 cup crumbled Feta cheese

1/4 cup red wine vinegar

1/2 clove garlic, minced

1 tablespoon Worcestershire sauce

1 tablespoon olive oil (or more, depending on how thin you like your sauce)

pinch of dried basil

pinch of dried oregano

In the bowl of a manual food processor (DO NOT use an electric food processor, it will chop the Feta up too small), mix together the mayonnaise, red wine vinegar, garlic, Worcestershire sauce, olive oil, oregano, and basil. Process until completely combined. Add Feta; process a few times until the cheese is evenly distributed but not completely broken down into tiny pieces. You want some bigger pieces of Feta left in the mixture. Chill until ready to serve with crackers, on fries, or on your favorite pita or gyro.

Recipe adapted from: http://livbites.com/2010/03/26/a-dip-and-a-dressing-just-like-home/

Peanut Butter Fudge Cake

Posted by Mandy on January 24th, 2012

I read online somewhere today that it’s National Peanut Butter Day? Peanut Butter is reason enough for me to celebrate, how about you? Peanut butter is one of those things that I couldn’t live without if I tried. It’s so creamy (or crunchy), sweet, nutty, delicious. I just can’t get enough of it, especially when it’s combined with chocolate.

So needless to say for my birthday last month I had to choose a peanut butter/chocolate cake of some sort. I thought back to this cake, a cake that goes waaaaaaaaay back for my family. When I was a child, my mom was our Brownie Girl Scout leader. So at Christmas time she would get sweet little happies from all of the moms of the children in our troop. That one Christmas many years ago was the first time that I tasted this cake, and I have not forgotten it since.

Mrs. Martha, a sweet family friend of ours, gave my mom this cake prepared and wrapped up all pretty. And to make it even better, she hand wrote a card with the recipe and attached it to the cake wrapping. A few years ago when we did a fundraiser cookbook for my son, I found this original hand-written recipe in my mom’s personal collection. This was like finding gold to me and I have been looking for the perfect occassion to make it ever since. And what better excuse than my 30th birthday last month? Can’t think of one? Me either so that’s just what I did and now I’m passing the heavenly recipe along to all of you. I know you’ll be unable to resist a piece with each walk by this delicious cake!


Peanut Butter Fudge Cake

For the cake:

1 cup butter

1/4 cup cocoa

1/2 cup buttermilk

1 cup water

2 large eggs, beaten

2 cups granulated sugar

2 cups all-purpose flour

1 teaspoon baking soda

1 teaspoon vanilla

For the peanut butter layer:

1 1/2 cups peanut butter (crunchy or creamy, you decide)

1 1/2 tablespoons peanut oil

For the icing:

1/2 cup butter

1/4 cup cocoa

6 tablespoons buttermilk

1 pound powdered sugar

1 teaspoon vanilla

Preheat oven to 350 degrees F. In a saucepan, combine butter, cocoa, water and buttermilk. Add eggs, stirring constantly over low heat until mixture bubbles. In a large bowl, mix sugar, flour, and baking soda. Stir hot mixture into dry ingredients. Beat until smooth. Stir in vanilla. Spread mixture evenly into a greased and floured 9×13″ baking pan. Bake 25 minutes or until firm to the touch in the center. Cool.

In a bowl, mix together peanut butter and oil (for the peanut butter layer) until smooth. Spread mixture over cooled cake.

To prepare the icing, in a saucepan, heat butter, cocoa, and buttermilk until bubbly. Place sugar in a large bowl and beat in hot mixture until smooth. Stir in vanilla. Spread mixture over peanut butter layer. Eat and enjoy!

Cake Mix Chocolate Chip Cookies

Posted by Mandy on January 21st, 2012

You didn’t honestly think I could go an entire week without posting a recipe for something sweet, did you? Good, because if you did you don’t know me at all. :) My middle child’s birthday was last week and she decided to be particularly difficult in deciding what she wanted to take to her class for a snack on her special day. Cupcakes? No way, Mom! Sugar cookies decorated with pretty little frosting and sprinkles? No way Mom! Of course she chose chocolate chip cookies instead, which I had no ingredients on hand to make nor did I have the time to let the butter come to room temperature. So what’s a woman to do when this happens? Make cake mix cookeis of course! Quick, delicious, and I had everything on hand. The little one got her cookies and mommy kept her sanity – everyone wins!


Chocolate Chip Cake Mix Cookies

1 box yellow cake mix

1/2 cup vegetable oil

2 eggs

1 1/2 cups semi-sweet chocolate chips

Preheat oven to 350 degrees F. In a mixer bowl fitted with the paddle attachment, combine cake mix, eggs, and oil. Mix on medium until completely combined. Remove bowl from mixer stand and stir chocolate chips in by hand. Scoop cookie dough according to the size you prefer onto a parchment paper lined baking sheet. Bake until slightly golden, being careful not to overcook (the amount of time you need to cook them will depend on your oven and the size of the cookie dough balls).

Baked Chicken Nuggets

Posted by Mandy on January 18th, 2012

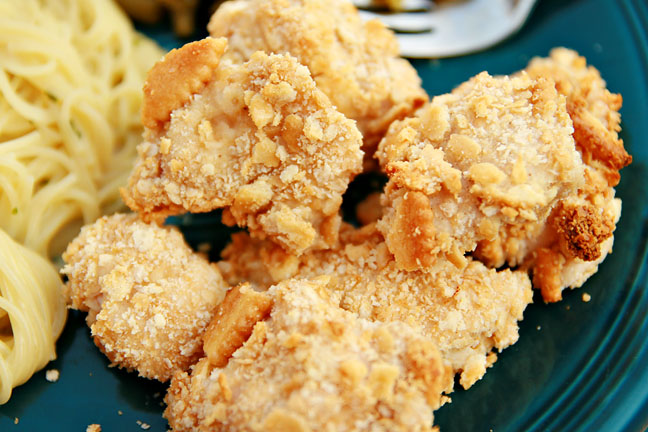
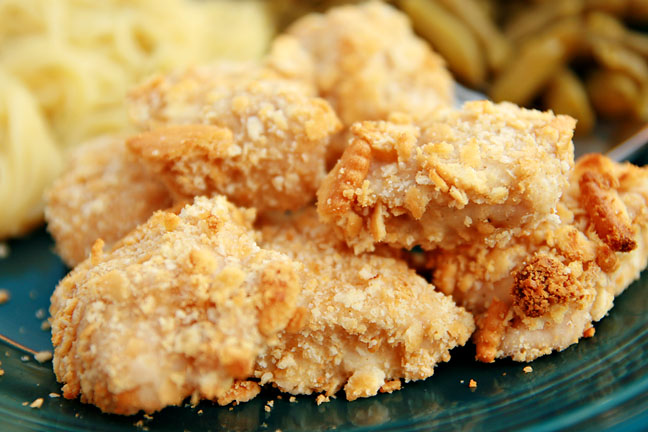
Everyone on the planet seems to be on a health kick lately, no doubt because of new year’s resolutions. I don’t make any myself, because really…what’s the point? None of us ever stick to them anyway, do we? It appears as though, while browsing through my blog recipes, my family eats fattening, sugary food non stop but I assure you that is not the case. Take these chicken nuggets, for example. These are a regular on our dinner rotation and have been for as long as I can remember, and why not? They are easy, healthy, and they always please everyone (including my picky kids!) So whether you are dieting or not this time of year or not, you should give this recipe a try. Feel free to let me know you love them as much as we do! 😉

Baked Chicken Nuggets

1 pound boneless, skinless chicken tenders

1 teaspoon poultry seasoning

a few shakes black pepper

1/4 cup milk

1/4 cup all-purpose flour

3/4 teaspoon dried parsley

1/2 teaspoon seasoned salt, regular salt, or garlic salt (depending on your flavor preference)

1 egg, lightly beaten

1 row Ritz crackers, crushed

Preheat oven to 425 degrees F. Cut chicken into bite size pieces. Set up an assembly line of shallow dishes filled accordingly. In the first dish, place flour and seasonings; mixed milk and egg in the second, and the cracker crumbs in the third. Add chicken pieces in small batches to the flour mixture, coating each piece. Remove and place into the egg mixture; remove and immediately place into the cracker crumbs, carefully coating each piece. Place in a single layer on a large baking sheet. Bake for 12-15 minutes or until chicken is cooked through.

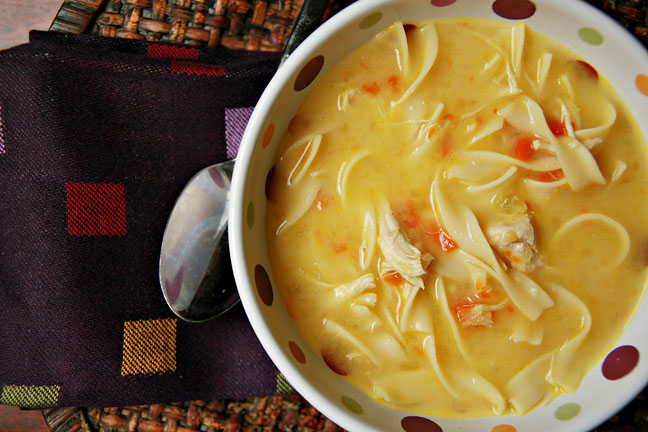
Momma’s Chicken Noodle Soup

Posted by Mandy on January 16th, 2012

Well, it’s been a while hasn’t it? I bet y’all thought I had jumped ship and decided to stop blogging, or either just completely fell off the face of the earth, huh? Well, lucky for all of you faithful recipe lovers, that’s not the case. We merely hit a bump in the road here at our house and it took a while to tend to things and get them all straightened out. Since I last updated, my hubby accepted a job way up in the north slope of Alaska, and just this weekend my son, mom, and I returned from our trip to Boston where my son had his 20th surgery. That’s a lot to swallow for one person! So, my biggest apologies for the lack of updates and if you all are willing to forgive me for leaving you for a while, I’ll happily share a new recipe with all of you today.

This recipe is one of my family’s all-time favorites. My mom has been making this soup for as long as I can remember. It just screams comfort as it’s cooking and filling your home with the delicious smells. Anytime someone in my house is sick, this soup makes an appearance and we all thoroughly enjoy it. I have a hilarious video of my youngest at just a year old trying to slurp her noodles into her mouth. So precious! I personally like my soup with a side of grilled cheese, but seeing as how my hubby is lactose intolerant I usually serve this with a big ole pan of homemade cornbread (don’t have a recipe, try my Mae Mae’s here: http://www.thesupermomchef.com/?p=252). You won’t be disappointed with this one, I can promise you that!

Momma’s Chicken Noodle Soup

chopped, cooked chicken (however much you prefer)*

96 oz. water

1/4 cup chicken base (or the equivalent amount of chicken boullion)

2 tablespoons butter

3 carrots, peeled & diced

1 onion, diced

2 stalks celery, diced

8 oz. dry noodles (I prefer the No Yolks brand)

1-2 cans cream of chicken soup (depending on how creamy you like your soup)

1 teaspoon seasoned salt

1/2 teaspoon garlic powder

1/2 teaspoon black pepper

Pull chicken from the bone and shred. Saute onions, celery, and carrots in butter until onions are transparent and vegetables are somewhat softened. Bring water and chicken base to a boil, add remaining ingredients and cook until noodles are tender. Serve hot with grilled cheese or cornbread.

*Note: I like to use a rotisserie chicken from the deli for this chicken, but you probably won’t need the whole chicken for this recipe.

Christmas Recipe Round-Up

Posted by Mandy on December 24th, 2011

I hope that you and yours are having the merriest Christmas of all! I plan to spend the next two days thoroughly enjoying and taking in every single second with my little ones. The joy on their faces this time of year is so magical and only lasts for a short time, soon they’ll be grown. While enjoying your holidays, please try to remember the true meaning of Christmas – the birth of our savior Jesus Christ! He truly is the reason for the season!

In case you are still looking for last minute recipes, here’s a holiday round-up of some of our favorites!

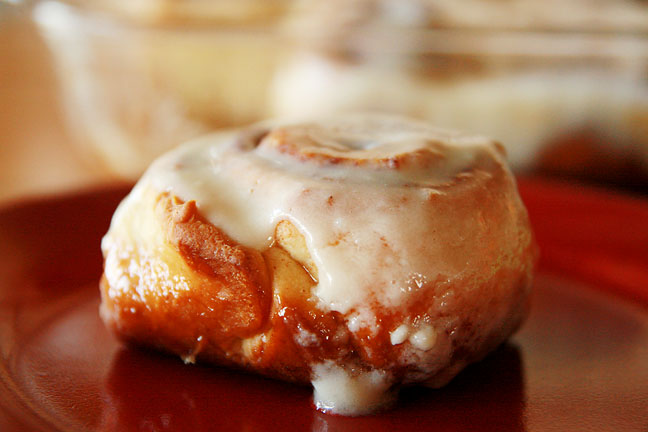
No Christmas morning breakfast is complete without homemade cinnamon rolls! http://www.thesupermomchef.com/?p=1181

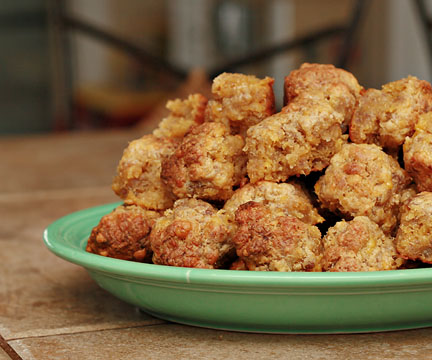
Sausage balls are a favorite of everyone too! http://www.thesupermomchef.com/?p=96

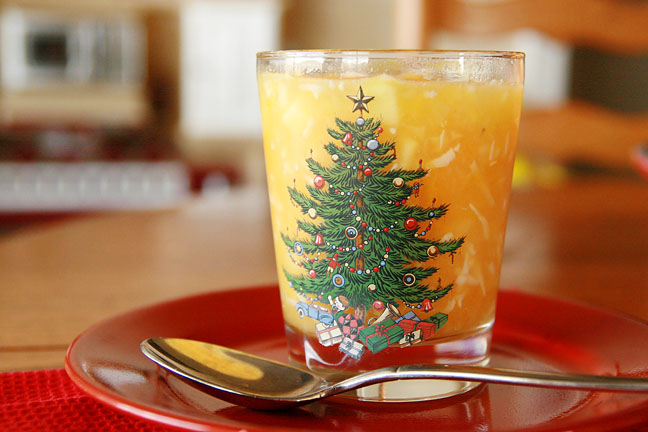
My Mae Mae’s Ambrosia, delicious anytime day or night! http://www.thesupermomchef.com/?p=1152


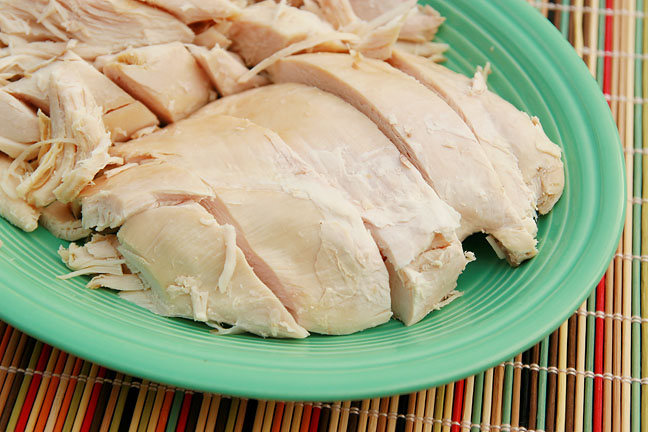
Gotta have turkey for Christmas lunch! http://www.thesupermomchef.com/?p=1070

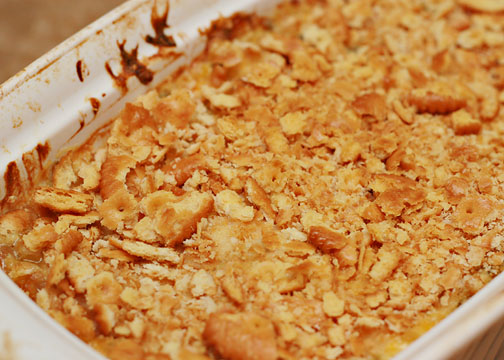
Dressing, oh the dressing! I could eat a whole pan of this! http://www.thesupermomchef.com/?p=263

My personal favorite side dish, Mae Mae’s Corn & Green Bean Casserole http://www.thesupermomchef.com/?p=294


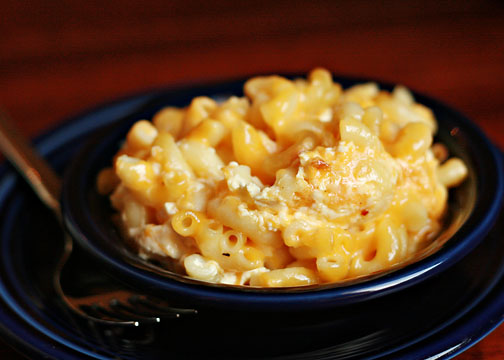
My kid’s favorite, Macaroni & Cheese http://www.thesupermomchef.com/?p=206


And since we all know that dessert (and homemade candy!) is the star of Christmas, here are our family favorites!

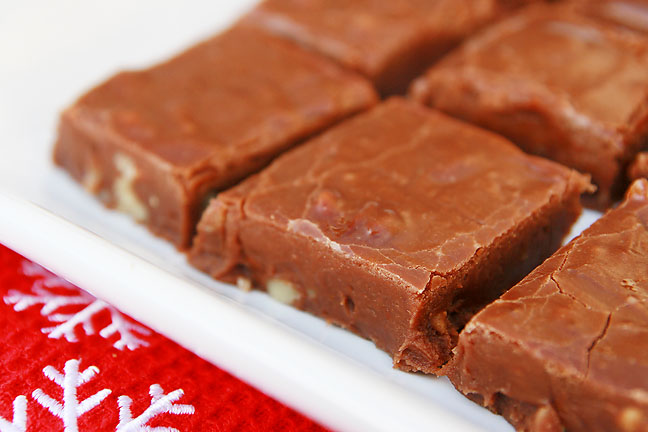
My Mae Mae’s Fudge, the creamiest most delicious chocolate confection ever! http://www.thesupermomchef.com/?p=1134

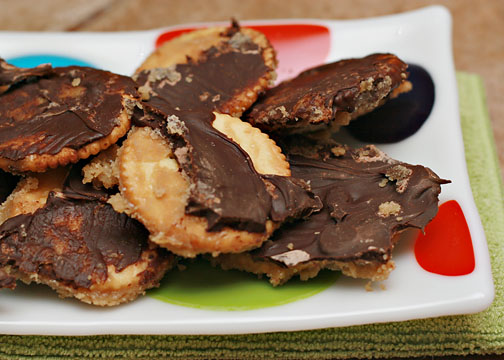
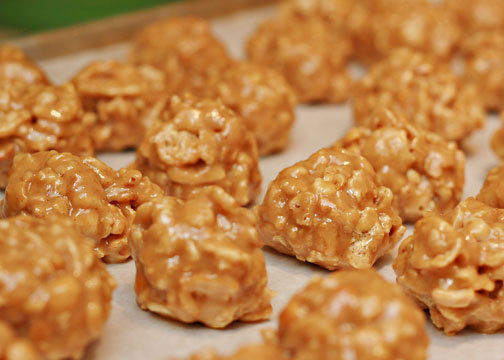
My brother’s favorite, Ritz Cracker Candy http://www.thesupermomchef.com/?p=386

My sweet Adee’s favorite http://www.thesupermomchef.com/?p=405

My other daughter’s favorite, she can eat herself sick off these if I don’t watch her closely! http://www.thesupermomchef.com/?p=358

My hubby’s favorite, and probably the family overall’s favorite http://www.thesupermomchef.com/?p=350

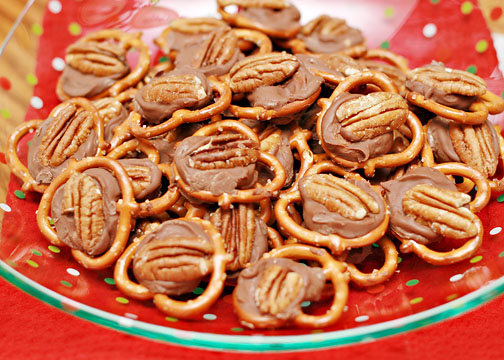
The easiest turtle candy you’ll ever make! http://www.thesupermomchef.com/?p=366

My new favorite from the new recipes I tried this year, the perfect combo of sweet and salty http://www.thesupermomchef.com/?p=1188

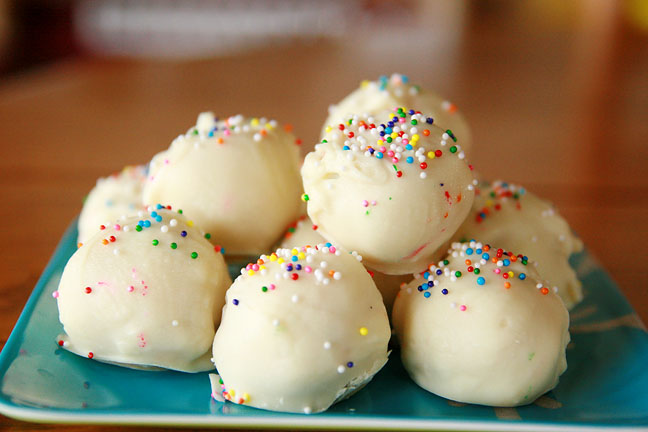
For the batter lovers in your life (aren’t we all?), a truffle that tastes just like the real stuff! http://www.thesupermomchef.com/?p=1157

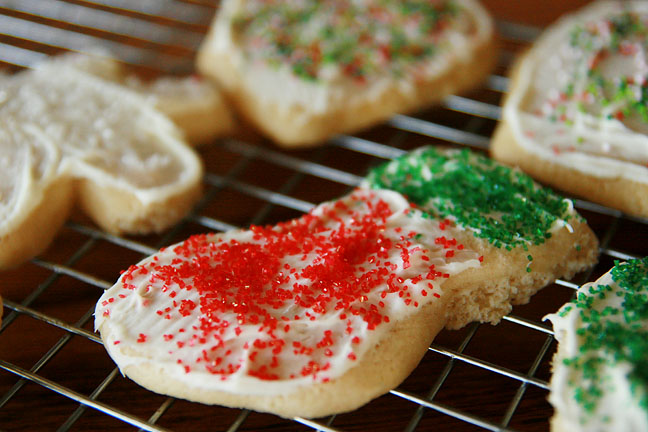
The best cookies for Santa, Molasses http://www.thesupermomchef.com/?p=324 and Fran’s Sugar Cookies http://www.thesupermomchef.com/?p=1177

And, in my family, no holiday is complete without a big pan of Bread Pudding! http://www.thesupermomchef.com/?p=281

Chocolate Peanut Butter Sandwich Cookies

Posted by Mandy on December 23rd, 2011

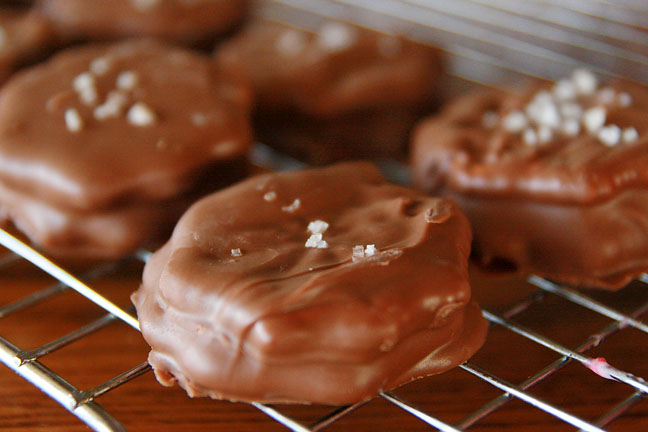
I hadn’t planned to share this recipe with you, at least not this year. I made them for the first time last weekend during our marathon baking/candy making day here at my house and after the first taste I told myself there was no way these babies weren’t going on the blog.

Each year my mom, sister, and I always get together and make Christmas goodies until our feet and backs are killing us and we can’t stand another sweet bite. It’s one of my favorite holiday traditions and I start looking forward to it the day after Halloween, planning the items we’ll make.

I had already made my list of goodies I wanted to make when I came across this recipe last week. I knew right away it was a must-add-to-the-list kind of item, even if it was last minute. Boy oh boy am I glad that I did! The first bite I took of these I knew right away something tasted familiar with them. Then I let my mom have a taste and she immediately said, “You know what these taste like?” I told her that I knew they tasted familiar but I just couldn’t put my finger on what it was that I was thinking about. When she said, “Tagalongs,” I agreed right away! They taste so much like the Girl Scount Tagalong cookies that I remember! Those were always one of my absolute favorites so I’m happy to now be able to enjoy a taste of something very similar to them during the rest of the year when Girl Scout cookies aren’t for sale.

Trust me when I say you must make these, and SOON! Don’t wait for Christmas to pass you by because you know if you don’t make them now it’ll be next Christmas before you do. Don’t make that mistake! Your family will extra happy you decided to make these for them, and if you have any leftover call me…I’ll finish them off for you! :)
Chocolate Peanut Butter Sandwich Cookies

80 Ritz crackers

1 1/4 cup creamy peanut butter

24 ounces chocolate bark coating

2 teaspoons flaky sea salt

Lay a sheet of waxed paper on your kitchen workspace. Place 1/2 tablespoon of peanut butter into the center of half the crackers. No need to spread the peanut butter; place the cracker with peanut butter on the counter and center another cracker on top. With one finger at the center of the top cracker, gently press the cracker down a bit. This will spread the peanut butter out in between the two crackers. Repeat until you have 40 sandwich cookies made. In a medium-sized bowl, melt the chocolate bark in the microwave according to the package directions. Drop a sandwich cookie into the chocolate. Using a fork, quickly dunk the cookie to completely cover it with chocolate. Lift the cookie out with the fork and tap the fork handle lightly on the side of the bowl to force excess chocolate down through the fork’s tines. Bring the fork outward, draggin the bottom of the  tines along hte rim of the bowl, letting any other excess chocolate drip down the inside of the bowl. Place the chocolate-dipped cookie on the waxed paper. Immediately top with a sprinkling of sea salt. Repeat until all cookies are dipped.

Recipe slightly adapted from: http://tastykitchen.com/recipes/desserts/chocolate-peanut-butter-sandwich-cookies/