Taking a short break

Posted by Mandy on February 7th, 2013

Hi all! I just wanted to post a quick update and let you all know that I won’t be able to post any new recipes for at least a few more days. I’m once again in the hospital with my little HERO unfortunately. Please keep him in your prayers if you don’t mind. I’ll be back posting again soon so be checking back!

Ranch Corn Dip

Posted by Mandy on January 28th, 2013

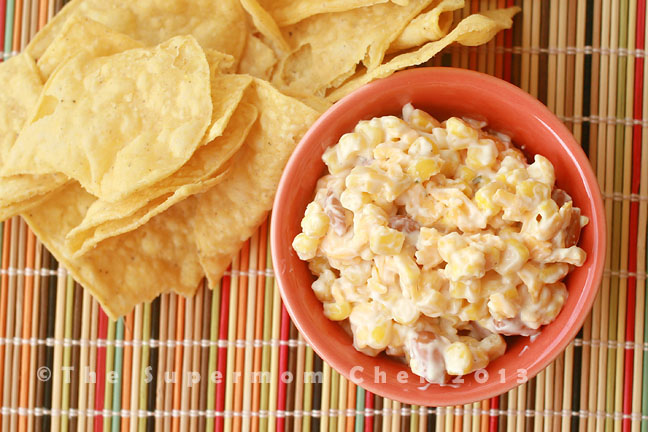
First of all, let me say thank you to all of you for the kind “welcome back”. It’s nice to finally be back to the blogging world again and even nicer to know that I was missed while I was gone. :)Moving right along, I thought that y’all would enjoy a good dip recipe to share at your Superbowl party this weekend. Don’t tell me you’re not having one. The Superbowl is to dips like Christmas is to candy…you just have to make it!

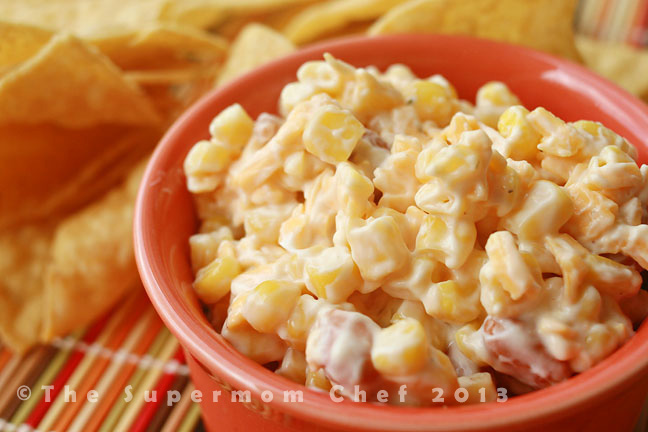
This is the first recipe that I ever came up with on my own. I ate some corn dip at a party and since I was just in junior high school at the time, I thought it’d be weird to ask my friend’s mom for the recipe. So I went home and tried to make some dip myself. Turns out this dip is absolutely nothing like the dip that I had at the gathering, but it’s SO MUCH BETTER! This dip makes a gigantic bowl, so if you don’t want all of it feel free to half it. You can serve it with tortilla chips or corn chips, and honestly you can’t go wrong with either. Heck I’ve been known to eat it straight off the spoon…and honestly I have no shame for doing so. Hope y’all enjoy!

Oh and if you’re looking for more recipes to share at your Superbowl party, feel free to check out the Recipe Round-Up I did last year full of Superbowl recipes. You can find it here: http://www.thesupermomchef.com/?p=1253

Ranch Corn Dip

1 cup mayonnaise

1 cup sour cream

1 pack dry Ranch dressing mix (or 3 tablespoons if you buy the bulk package)

2 cans whole kernel corn, drained

1 can pinto beans, rinsed and drained

2 cups grated Cheddar cheese

In a small mixing bowl, stir together sour cream and mayonnaise until combined. Add Ranch dressing mix, mix together until completely distributed throughout the sour cream and mayonnaise mixture. Set aside. In a large mixing bowl, stir together the corn, pinto beans, and cheese. Pour in the creamy mixture, stirring well to combine (you may or may not need all of the Ranch mixture, depending on how creamy you like your dip*). Store in the refrigerator for a couple of hours to allow time for the flavor to maximize.

*Note: If you have leftover Ranch, it’s great served with raw, fresh vegetables.

6-Week Raisin Bran Muffins

Posted by Mandy on January 8th, 2013

Life has a way of taking over at times, doesn’t it? During the last two months, our family’s lives have been in a whirlwind of happenings. It’s been one thing after the other. We sold our house, moved to the bordering county, my husband accepted a new job (14 hours away from home) and started his rotations, I had surgery which then resulted in a terrible infection that kept me down for weeks longer than it was originally planned to, my husband’s grandmother was ill and passed away during the holidays, both my husband and my son had the flu, I dealt more with my son’s ongoing health issues, and all of that happened during the busiest time of year, the holidays. I feel like they passed me right by without me getting to even enjoy them! I wish we could have a do-over of the last two months. The time from Halloween until the new year is always my favorite time of year…it’s the time of year when we cook more than any other time! And I missed out on most of that this year. Don’t get me wrong, I have still cooked (who can afford to eat out these days?) but haven’t tried many new recipes and those that I have tried aren’t really worth sharing.

So because of my struggles, the blog has suffered. I could say I am sorry, but I know that my faithful readers are tired of hearing that. But really, I am. I am going to try and do better but honestly, I can’t make any promises. I’m a mom first, and being a single mom most of the time these days is a bit daunting. So keep coming back because I’m not done posting recipes to share!

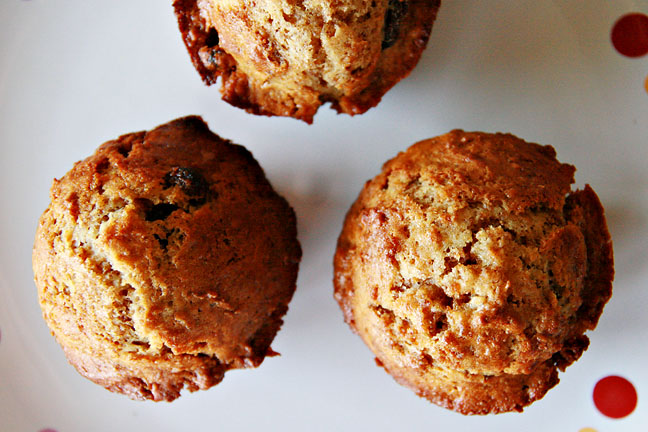
Today I’m sharing a recipe with you that’s been in my family for years. Looking at my blog, you’d assume that my family eats very unhealthy most of the time. But honestly, that’s not the case at all. My main goal is to eat lots of good-for-you stuff but not forbid myself from eating the not-so-good stuff. Now I’ll be the first to admit that I’m not always the best at that…especially when there’s a pan of brownies sitting on my stove, but I do my best. Life is all about enjoying the good stuff, and let’s face it, chocolate is part of “the good stuff”. But this recipe is for those times when you want to put a little something healthier in your life. I’m not claiming this to be a diet recipe by any means, but it’s got some quite healthy things in it. I grew up eating the muffins more mornings than not and got so sick of them that I didn’t eat them for years. Last year sometime, my mom had mixed up some and shared with me and when I tasted them I remembered why I loved them so, they are delicious!

You can mix up the muffins and leave the mix in the refrigerator, only cooking each day what you need. They say this mix stays good in the refrigerator for up to 6 weeks, although the mix has never lasted that long for us to be able to say that’s completely true or not. I’m not sure where my mom got the recipe, because she’s been making it for as long as I can remember. So if you are reading this and are the person that shared this recipe with my mom many moons ago, I thank you!

6-Week Raisin Bran Muffins

1 (15 oz) box Raisin Bran cereal

1 cup melted shortening

3 cups sugar

4 eggs, beaten

1 quart buttermilk

5 cups flour

5 teaspoons baking soda

2 teaspoons salt

Combine all ingredients. Store in refrigerator in covered container for a maximum of 6 weeks (please see above note). Bake only as many muffins at a time as you need. In a muffin pan, place about 2-3 tablespoons dough and bake at 400 degrees F in a preheated oven for 15-20 minutes.

Creamy Tomato & Sausage Soup

Posted by Mandy on November 8th, 2012

My, it’s been a long time since I’ve posted. I seem to say that a lot, don’t I? Well, at least I have a good excuse. We have been trying to sell our house for two years now, but have been actively preparing for this move for almost three years. And we have finally sold it, thank goodness! We are supposed to close on our house on November 20 so everything has to be out by then. The only catch is that we are buying my in-laws house, and their new house isn’t quite ready yet.

And that’s not it, you may remember my son’s health issues that I’ve mentioned before. Well, these days he’s in the wheelchair about 85% of the time so he is almost completely reliant on me for everything. And I’ve had some recent health issues myself and I will be having surgery on the 29th of this month. Throw being in charge of making 25+ apple cakes for my dad’s annual holiday gift-giving for his business, and I’ve had quite a lot on my hands. Not trying to make excuses, but just want you to understand where I’m coming from.

The good news is that once I get moved into my new house, it will have a much bigger kitchen. So I’ll no longer have an excuse for my children to be eating popcorn or ramen noodles for dinner like we seem to be doing every night lately. That’s when the real cooking will begin! I can’t wait to finally get back in the kitchen and prepare my family a decent meal! It’s been far too long.

So today I have a new recipe for you, and it’s a good one. But let me warn you…don’t be stupid like me (having gallbladder issues) and eat this for dinner late one night. I was up ALL NIGHT LONG hurting! But if you’re healthy, like I was just a few weeks ago, go right ahead. It’s delicious, easy, and something to warm you and your family up on these cold fall nights.

Oh, and this recipe came about as a result of having some leftover Italian sausage and not knowing what to do with it. I knew I wanted to make a creamy soup, but didn’t know just what. So I googled, found a similar recipe, and heavily adapted it to make this yummy soup. Serve it with garlic bread and you’ll have a happy family like I did. :)

Creamy Tomato & Sausage Soup

1 small onion, chopped

2 cloves garlic, chopped

2 teaspoons olive oil

1 1/2 pounds Italian sausage (hot, sweet, or a combination of both)

1 jar of your favorite spaghetti sauce

2 cups beef broth

salt & pepper, to taste

1/2 teaspoon dried basil

1-2 cups half & half (depending on how creamy you like your soup)

1 cup mini pasta (I used mini bow-ties)

fresh shredded Parmesan cheese for garnish, if desired

Cook the pasta in boiling water according to package directions. Meanwhile, in a large Dutch oven or stockpot over medium heat, brown sausage with onion in olive oil until sausage is cooked through. Add garlic and cook for 2 minutes, or until fragrant. Drain the sausage mixture, if needed. Return the sausage mixture to the skillet and add the remaining ingredients, including the cooked pasta. Top with fresh shredded Parmesan cheese, if desired.

Recipe adapted from: http://picky-palate.com/2009/03/26/creamy-tomato-basil-and-italian-sausage/
Brittney’s Easy Slow Cooker Crawfish Bisque

Posted by Mandy on October 4th, 2012

Do you remember the delicious recipe I shared a while back for Brittney’s Pasta (http://www.thesupermomchef.com/?p=825)? Well, Brittney’s done it again…shared another delicious recipe with me to share with all of you! Back in January, Brittney sent me this recipe for Crawfish Bisque and it sounded absolutely delicious. When I got this recipe from her, though, my hubby was about 5,000 miles away in Alaska working. Since I thought the bisque would be too spicey for the little ones, I kept putting off making it (too much for me to eat myself) and every time the hubs would come home I’d forget to make it for him to share with me. Then a couple weeks ago I thought about this soup again out of the blue. And I just knew I had to make it!

I actually now regret waiting so long to try it. Not only did the hubby eat it and love it, but he took some to his parents house to eat one day for lunch and they were able to taste it and love it too! My 6 year old daughter couldn’t get enough of it and asked for the leftovers for dinner the following three nights!

I’ll be honest, I used the full two tablespoons of spice and it was a bit spicey for me. I think next time I’ll start with just one tablespoon and let others add extra spice to their own taste. Because of this, I changed the recipe to say 1-2 tablespoons Creole seasoning. I also cut the butter back a little bit and added some broth to thin the soup out slightly. The recipe I got from Brittney didn’t specify whether or not to drain the corn, so I drained the corn and added broth to thin the bisque slightly. I also cooked my crawfish just before adding it to the soup, since the recipe didn’t specify whether or not to cook it first. We served ours with some warm bread and everyone gobbled it up quickly and went back for more. I think you guys are going to love this one! Thank you again to Brittney for being kind enough to share her recipes with me!

P.S. If you have a recipe that you think I’d like to share with my readers (and you wouldn’t mind me sharing it), please feel free to e-mail it to me at mandy at thesupermomchef dot com. (Excuse the way I have to write the e-mail address…I really don’t feel like sorting through a bunch of useless internet spam in my inbox tomorrow morning.)

Brittney’s Easy Slow Cooker Crawfish Bisque

1 pint half and half

4 oz. Velveeta cheese, cubed

4 tablespoons butter, cubed

1 bunch green onions, chopped

2 cans cream of potato soup

2 cans cream of mushroom soup

2 cans whole kernel corn, drained

1-2 tablespoons Tony Chachere’s Creole Seasoning

2 cups vegetable broth

1 package frozen crawfish tails, thawed

Add all ingredients except crawfish to a slow cooker and cook on low for 4-6 hours. Shortly before bisque is done, saute crawfish tails in one tablespoon butter until cooked through. Add to bisque, stirring to combine well. Serve with garlic bread.

Tailgating Recipe Round-Up

Posted by Mandy on September 20th, 2012

It’s no secret to my readers on this blog that I’m from the South. And it’s also no secret that most Southerners are die-hard college football fans. Well, that’s the one exception to the Southern rule here in this house. It’s not that we don’t like college football. It’s just that we don’t really prefer one team over the other since neither my hubby nor I attended any of the big universities around here. We’re still big football fans though so don’t think I don’t make my fair share of yummy goodies to munch on while watching a big game.

So you’ve probably guessed by now that because we aren’t big college football fans, we also don’t tailgate. It’s not that I don’t think it would be fun. Food and drinks everywhere, just for the munching while you wait to watch a big game. Sounds pretty dang awesome to me. But I’ve never actually been, so I feel kind of silly writing this post. I have no idea what an actual tailgate is really like (do you have access to electricity? Grills? What’s it actually like?), so I could be way off on this Round-Up of recipes, but I’m just gonna select a few of my favorite football munchie foods and share with you all. Hopefully this round-up will give you some fresh ideas to take to your next football gathering. And hopefully sometime before next year I’ll actually get to go to a tailgate so I’ll know more of what recipes would work best to take along. Anybody want me to tag along with ya? :)

No football gathering is complete without dips. These are a few of my favorites:

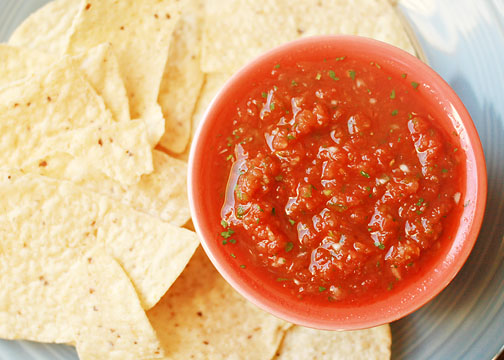
Restaurant Style Salsa (http://www.thesupermomchef.com/?p=555)

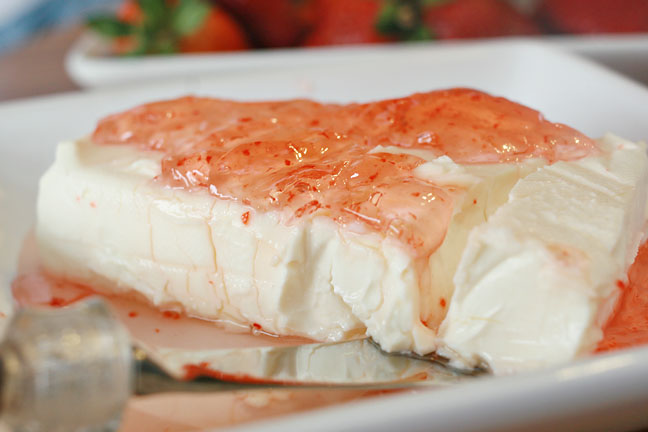
No Southern get-together is complete without the ever-famous cream cheese/pepper jelly combo (http://www.thesupermomchef.com/?p=688)

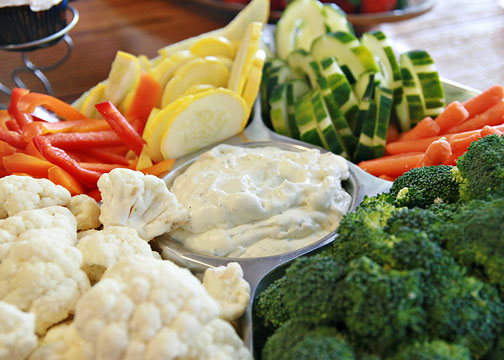
The perfect ranch dip for your veggie tray (http://www.thesupermomchef.com/?p=127)

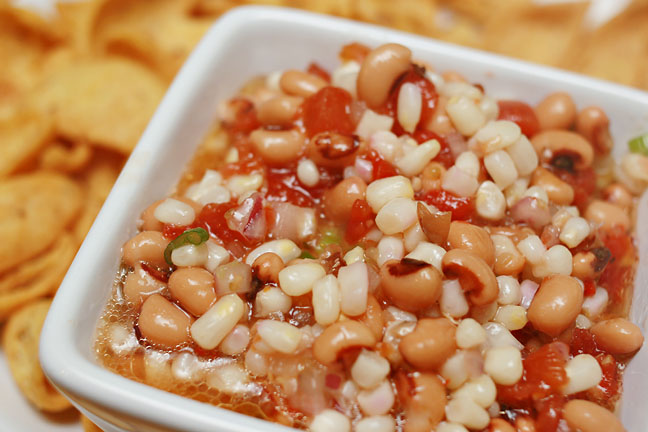
This dip would be perfect to travel! (http://www.thesupermomchef.com/?p=710)

Ham, Swiss and Poppyseed Sliders (http://www.thesupermomchef.com/?p=1241)

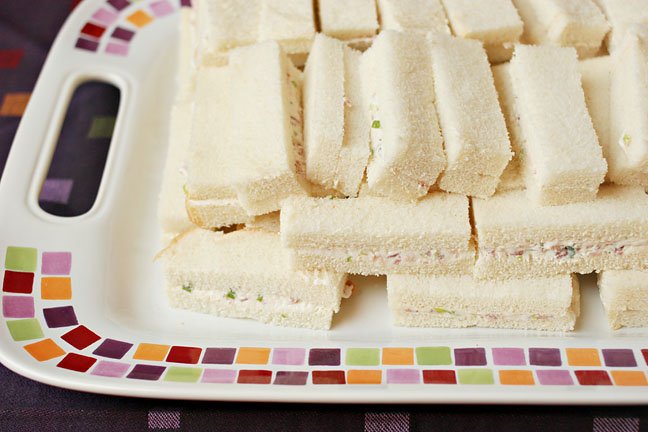
Bacon & Onion Finger Sandwiches (http://www.thesupermomchef.com/?p=801)

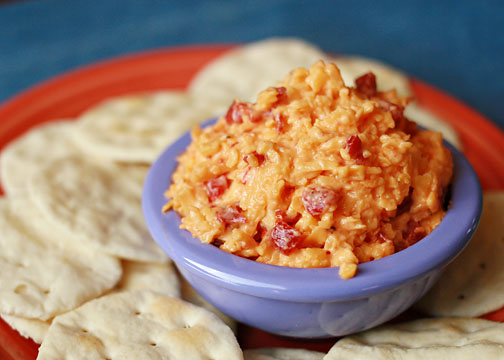
Pimento Cheese, in the South, you just gotta! (http://www.thesupermomchef.com/?p=641)

Speaking of cheese, you gotta make some cheese wafers! (http://www.thesupermomchef.com/?p=1163)

The name of this snack mix says it all (http://www.thesupermomchef.com/?p=685)

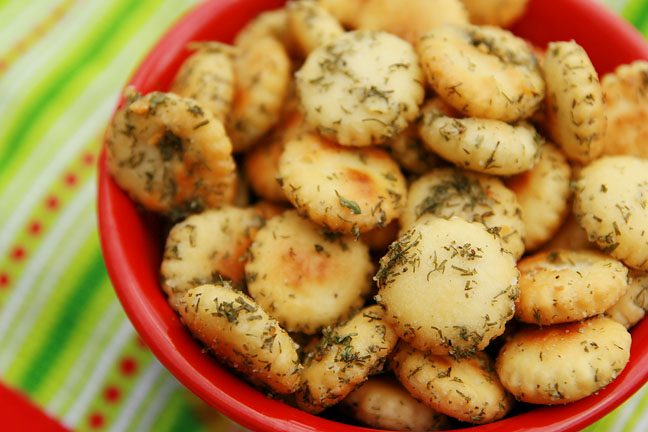
Oysters Crackers are easy to munch on the go (http://www.thesupermomchef.com/?p=1119)

These would be precious decorated in your team colors! (http://www.thesupermomchef.com/?p=1157)

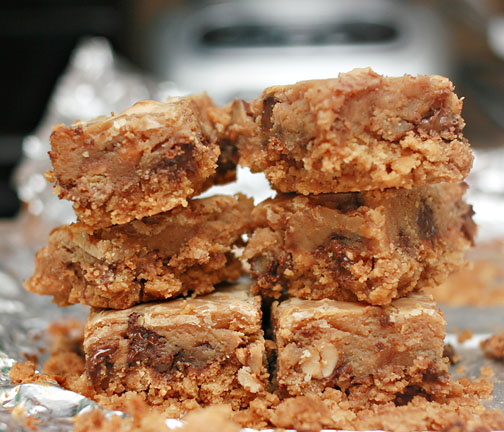
These yummy bars won’t last long (http://www.thesupermomchef.com/?p=500)

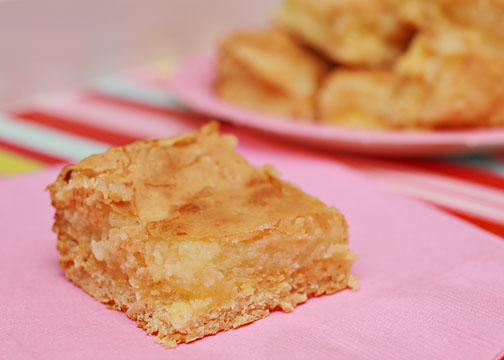
Another Southern tradition, Chess Squares (http://www.thesupermomchef.com/?p=459)

Who doesn’t love brownies? (http://www.thesupermomchef.com/?p=1298)

And finally a sweet dip that one blog reader in particular says she takes to every tailgate! (http://www.thesupermomchef.com/?p=1327)

Now I’m ready to go to a tailgate! If these recipes don’t bring everyone to your tent, then nothing will (except maybe some free alcohol!) Try some of these for your next gathering and I promise you’ll have a bunch of fans full and ready for the game!

Creamy Tomato Tortellini Soup & The Supermom Chef’s 200th Blog Post!

Posted by Mandy on September 18th, 2012

Happy 200th Blog Post to The Supermom Chef (that’s me)! Can you believe that I’ve posted that many recipes for all of you? Well, give or take a few posts that are Round-Up posts about certain themes (Christmas, Thanksgiving, Super Bowl, etc.). Take a moment and congratulate me if you stop by so that I’ll know you’ve been a reader! I love hearing from my readers via the comment section!

On another note, maaaaaaaannnnn does it feel good outside today! We had a “cold front” come through yesterday and because of that our weather today is unseasonably cool. Goodness how I love days like this! It’s currently 77 degrees outside as I type this and my kids are running around in the backyard in light jackets. I’m ready for the cold weather to come. Once school starts, I am so over the heat and ready for Halloween. My favorite time of year is from Halloween until the day after New Year’s. I love everything about fall! Football, the chill in the air, the beautiful colors! I just can’t get enough!

So because of our first official cool weather today, I’m posting a cool weather-type recipe. Chilly air makes me crave soup. Don’t get me wrong I still eat my fair share of soup in the summer, but nothing is quite as comforting on a chilly day as soup is. It warms you from the inside out. This is one of my particularly favorite soups. It’s even good for those people who claim not to like tomatoes but will eat things like ketchup and salsa. Basically, they just don’t like the chunks of tomatoes so this is perfect for folks like that. In that case, feel free to leave out the chopped sun dried tomatoes but add a little of the oil in there because it gives the soup so much flavor. Me? I like tomatoes no matter how you serve ’em up and this soup is no exception. Oh, and it’s super easy and makes a ton!


Creamy Tomato Tortellini Soup

1  (9 oz) package refrigerated cheese tortellini

2 cans (10-3/4 oz each) condensed tomato soup, undiluted

4 cups broth (vegetable or chicken)

1 cup milk

2 cups half and half

1/2 cup chopped oil-packed sun-dried tomatoes

1 teaspoon onion powder

1 teaspoon garlic powder

1 teaspoon dried basil

1/2 teaspoon salt

1/2 cup freshly shredded Parmesan cheese

additional shredded Parmesan cheese for garnish, if desired

Prepare the tortellini according to package directions. Meanwhile, in a stock pot, combine the soup, broth, milk, half-and-half, tomatoes, and seasonings. Heat through, stirring frequently. Drain tortellini ; carefully add to soup. Stir in 1/2 cup Parmesan cheese. Sprinkle each serving with additional Parmesan cheese, if desired. Serves 6-8.

Recipe adapted from: http://realmomkitchen.com/8651/creamy-tomato-tortellini-soup/

Gooey Fudgy Peanut Buttery Brownies

Posted by Mandy on September 11th, 2012

I’ve said it before, and I’ll say it again. Never has a combination of ingredients been more of a hit in my house than chocolate and peanut butter. It’s simply divine! And by divine I mean, if you leave me alone with a pan of something with the ever-famous combination, I will (with no shame, I might add) eat the whole entire pan. What can I say, I’m a chocolate/peanut butter addict. These are utterly delicious so I won’t chat endlessly about a bunch of random stuff today, but rather just share this recipe with you. Make it soon, and then invite me over to share the pan with you. :)


Gooey Fudgy Peanut Buttery Brownies

1 box (9×13 size) brownie mix

1 1/2 cups powdered sugar

1/2 cup butter

3 tablespoons creamy peanut butter

2 tablespoons cold milk

4 1/2 teaspoons instant vanilla pudding mix

1 can chocolate frosting

Make brownies according to package directions for a 9×13″ size pan, cool. Meanwhile, in a small bowl, beat the sugar, butter, peanut butter, milk, and pudding mix until smooth. Spread over cooled brownies. Cover and refrigerate for 30 minutes or until firm. Frost with fudge frosting just before cutting.

Recipe from: http://4littlefergusons.wordpress.com/2011/08/03/must-have-chocolate-2/

Shrimp Po’ Boys

Posted by Mandy on September 6th, 2012

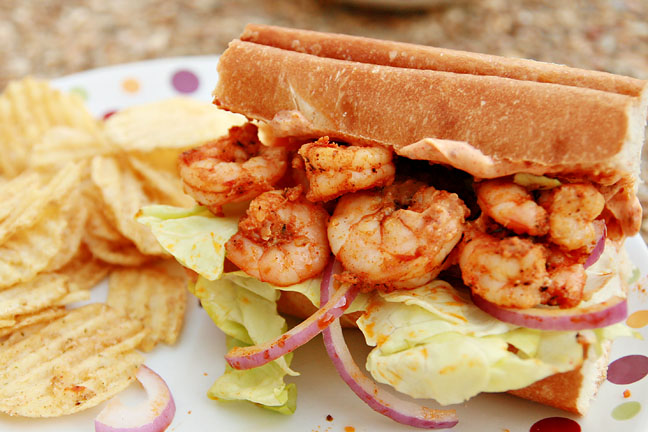
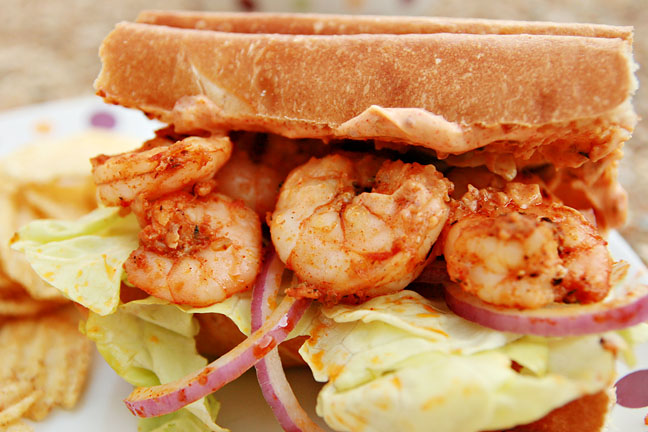
It’s no secret that I love sandwiches, wraps, and the like. Truth be told (and I think I’ve said this here on the blog before), I could live off of them. Another of my favorite foods is shrimp. Oh my heavens I could eat shrimp every single day of my life and never tire of its deliciousness. I love going to the beach and coming home with a big ice chest full of fresh shrimp from the gulf. The worst thing about shrimp is peeling and deveining them, but if you have the right tools even that task isn’t that tough. It literally cooks in just minutes and is healthy for you too (unless you cover it in breading and deep fry it, yum yum!) Ahhhh, I could go on for days about my love for this little ocean crustacean. But I’ll shut up and just share the recipe!

These are best served with some fresh made cole slaw, but I didn’t have any on the day that I made this. So chips just had to work. :)


Shrimp Po’ Boys

1 1/2 teaspoons Kosher salt

1/2-1 teaspoon cayenne pepper*

1 teaspoon garlic powder

1 teaspoon paprika

1/2 teaspoon dried oregano

1/2 teaspoon dried thyme

1/2 teaspoon freshly ground black pepper

1/2 teaspoon onion powder

1 1/2 pounds large shrimp, peeled & deveined, patted dry

2 teaspoons canola oil

4 hoagie, sub, or French rolls, split horizontally

Remoulade sauce or mayonnaise

Fixins’, as desired (lettuce, onion, pickle, hot pepper sauce, etc.)

In a shallow dish, whisk together the spices, salt & pepper. Add the shrimp and coat all of the shrimp well with the spice mixture. Heat oil in a large saute pan over medium-high heat. Add the shrimp and cook for 2-3 minutes on each side, or until the shrimp are cooked through. DO NOT OVERCOOK! Spread a thin layer of remoulade sauce or mayonnaise on the rolls, top as desired with shrimp and fixins’.

*Note: When I made this recipe, the shrimp was very spicy, a little too spicy for my taste. It has been a while since I made this particular recipe so I’m not sure how much cayenne I added but the next time I make it I’ll start with a very small amount and go from there. If you like your food super spicy, then by all means go ahead and add the entire teaspoon.

Recipe adapted from: http://smells-like-home.com/2011/09/shrimp-po-boys/

Greek Chicken Pita

Posted by Mandy on August 31st, 2012

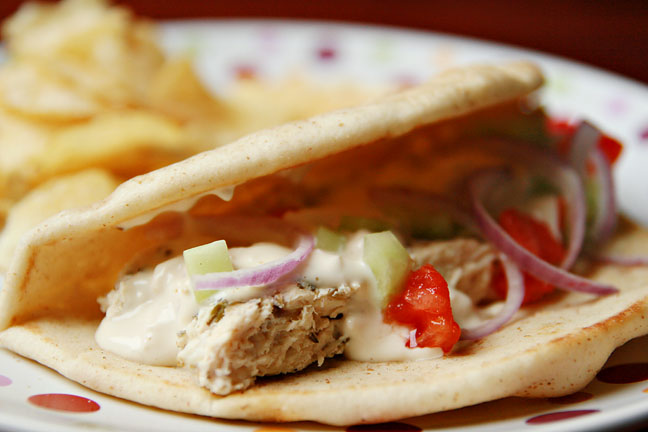
Remember the Feta Sauce recipe that I posted a while back (http://www.thesupermomchef.com/?p=1235)? And remember the promise that I made in that post to post later on the recipe for a delicious pita to go along with it? Yep, I completely forgot to write up that post for you. It’s no biggie, because of course you could throw just plain grilled chicken on top of a pita and slather it with that yummy Feta Sauce and it’d still be absolutely delicious. But this chicken is marinated in a “Greek-y” marinade that adds even more flavor to the delicious pita.

Usually the typical sauce for a pita and/or gyro is tzatziki sauce, but being from around central Mississippi we all know that Feta Sauce is a must. Not that tzatziki isn’t good, but come on now…we are all hopelessly addicted to the Feta Sauce at a local restaurant around here. So make you one at home when you’re getting the craving the next time and save that trip to Jackson (gas is expensive!) and the money the pita costs. You won’t be disappointed! :)


Greek Chicken Pita

For the chicken:

4 cloves garlic, smashed

juice of 1 lemon

2 teaspoons red wine vinegar

2 tablespoons extra virgin olive oil

2 heaping tablespoons plain yogurt

1 tablespoon dried oregano

salt & pepper, to taste

1 1/4 pounds boneless, skinless chicken breasts or chicken tenders

Combine the garlic, lemon juice, red wine vinegar, olive oil, yogurt, oregano, and salt and pepper in a medium bowl. Whisk together until fully combined. Add the chicken and mix well to coat. Cover and refrigerate for about an hour. Grill in a preheated grill pan, and allow to cool for a couple of minutes before slicing into strips.

For the pita:

red onion, sliced

tomato, seeded & diced

cucumber, seeded & diced

shredded lettuce

*pocketless pita bread

prepared chicken (recipe above)

prepared Homemade Feta Sauce (recipe to be found here: http://www.thesupermomchef.com/?p=1235)

Warm pita following package directions. Top with prepared veggies, sauce, and chicken as desired. Serve warm.

*Note: Make sure to purchase pocketless pita bread. If you can’t find it, you can substitute a flat bread wrap, tortilla, or pretty much anything else for this recipe. Whatever you do, do not use that dried out stuff they call “pita bread” that is so widely available in supermarkets now. It tastes like cardboard, quite frankly.

Chicken recipe adapted ever so slightly from: http://annies-eats.com/2009/06/02/chicken-gyros/